Description
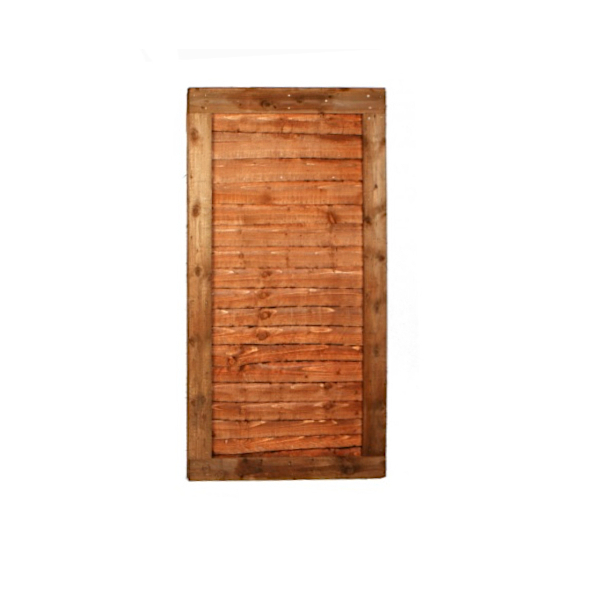
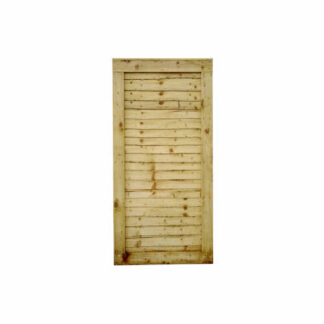
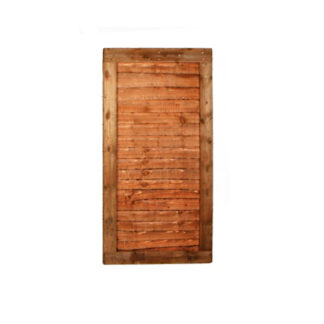
Ideal for matching in with Lap fence panels, our lap gates are heavy duty in construction and braced in both directions, so they can be hung from either the right or the left hand side. The framework is made from 100 x 22mm timber, which is doubled up around the edges to effectively ‘sandwich’ the slats in position. Bracing is added to the back of the gate and a piece of capping is nailed onto the top of the gate. The gates are then treated with a brown timber treatment, containing both anti-rot and anti-mould chemicals.
HOW TO HANG A LAP GATE
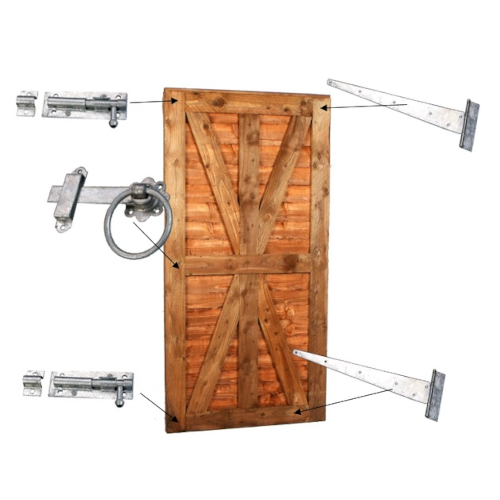
To hang a lap gate correctly you will require:
1 x pair of galvanised T-hinges (18” for most gates, 24” hinges for a 1.2m wide gate)*
2 x Brenton bolts*
1 x Ring latch*
1 x shutting strip/gate stop*
*These items can be added in the basket (once a lap gate is added) – so there is no need to separately search for them on the website.
Preparation
It is very important to make sure you have solid and level posts and/or wall plates in position before attempting to hang the gate. Ensure the spacing it correct between the posts/wall plates. The gap should be the width of the gate PLUS around 20mm. This extra 20mm will allow for the timber to expand or contract depending on the temperature and weather conditions. In the hot summer weather (fingers crossed!) the moisture will evaporate from the wood and the gate can shrink considerably. Conversely, in the winter when it’s colder and consistently wet the wood will swell up with the extra moisture, so when planning your gate installation this must be accounted for.
ATTACHING THE HINGES AND HANGING THE GATE
The hinges should be screwed to the gate top and bottom (although there’s a middle support on the gate, there’s no requirement for 3 hinges to be fitted). Make sure the hinges are perfectly square, and leave a tiny gap between the edge of the gate and the butt of the hinge to ensure it doesn’t ‘rub’ when opening and closing, and likewise make sure when attaching the hinges to the post or wall plate make sure the gate swings ‘freely’ and doesn’t pinch or rub.
There should be a small gap at ground level (around 10-15mm is usually ok in most cases). Never allow the gate to drag along the floor.
ATTACHING THE CLOSING LATCH AND BOLTS
Once the gate is successfully hung and you’re happy that it swings freely, it’s time to attach the latch and bolts to close the gate. With our kit, we supply a ring latch and 2 Brenton bolts. The ring latch is attached to the middle support of the gate and allows the gate to shut (not lock) without swinging open. There is a ring on both sides of the gate to allow opening from both directions. The 2 Brenton bolts should be fixed top and bottom of the gate and should be used whenever the gate is no in use. The Brenton bolts will prevent the gate from twisting. Wood being a natural product, will sometimes move, and we have seen cases where a gate starts out perfectly level with the posts etc, but after a heat wave etc can twist slightly because of the wood moving as it dries out. Adding a bolt top and bottom will help prevent this from happening.
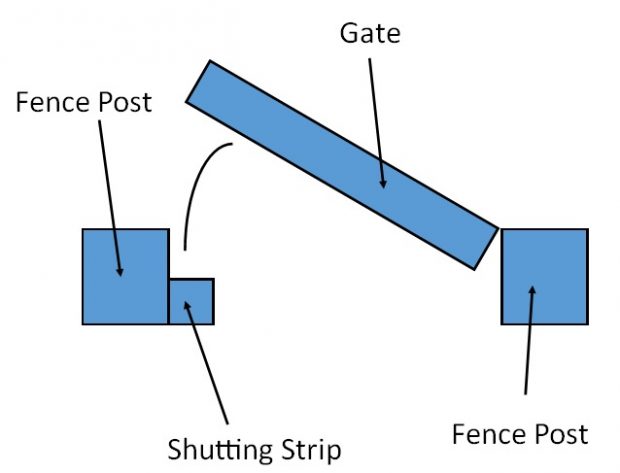
Lastly, make sure the shutting strip is screwed to the fence post to ensure the gate can’t bend back on itself as shown below:
If the space where your gate is going is pre-set and can’t be easily widened or narrowed to accommodate one of our ”off the shelf” sized gates don’t worry. We can make gates to order, so please contact us either via email, phone or instore and we can provide you with a no obligation quotation and approximate lead time.


Reviews
There are no reviews yet.