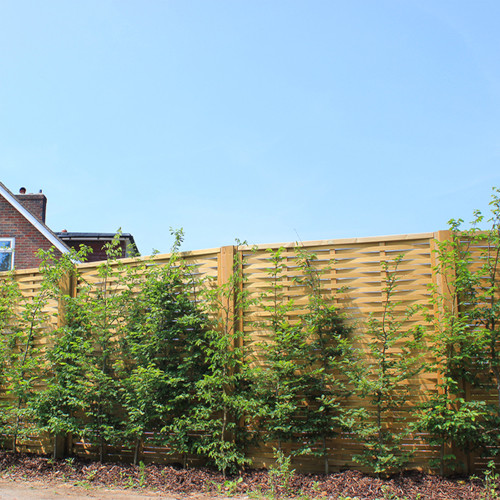
Welcome to Briants of Risborough, your go-to source for all your fencing needs. This guide provides instruction on how to build a fence, covering various purposes such as privacy, security, and decoration. It highlights the availability of different types of fence panels and materials at Briants, catering to both domestic customers and professional contractors. The company offers a wide range of products, including fence posts, postcrete, digging tools, garden sleepers, agricultural stakes, post & rail fencing, decking supplies, and gates.
Planning Your Fence
Proper planning is essential when learning how to build a fence. By taking the time to assess your garden layout and boundaries, understanding local regulations and permissions, and choosing the right type of fence for your needs, you can ensure a successful and hassle-free project.
Begin by assessing your garden layout and boundaries. Measure your garden and identify any obstacles or features that may affect the fence installation, such as trees, slopes, or existing structures. This will help you determine the length and height of the fence, as well as any additional materials or tools you may need.
Next, familiarise yourself with local regulations and permissions. Different areas may have specific rules regarding fence heights, materials, and placement. Check with your local council or planning department to ensure that your fence complies with the necessary regulations. Obtaining any required permissions or permits will save you from potential legal issues in the future.
Choosing the right type of fence for your needs is crucial for achieving the desired functionality and aesthetic appeal. There are various options available, including wooden fences, metal fences, and vinyl fences. Consider factors such as privacy, security, maintenance requirements, and budget when making your decision. Additionally, think about how the fence will blend with the overall style of your garden and home.
By carefully planning your fence, you can avoid costly mistakes and ensure that the end result meets your expectations. Remember to assess your garden layout and boundaries, understand local regulations and permissions, and choose the right type of fence for your needs. With these steps in mind, you’ll be well on your way to learning how to build a fence that not only enhances your property but also stands the test of time.
Tools and Materials Needed
Having the right tools and materials is essential when learning how to build a fence. Whether you’re a seasoned DIY enthusiast or a beginner, here are some key items you’ll need to get started:
Essential Tools for Building a Fence
Ensure you have the following tools for a successful fence installation:
- Tape measure: Accurate measurements are crucial for a properly aligned and balanced fence.
- Post hole digger: Essential for digging the holes where the fence posts will be placed.
- Level: Helps ensure your fence is straight and even.
- Hammer: Needed for nailing the fence boards to the posts.
- Saw: Useful for cutting the fence boards to the desired length.
- Electric drill: Versatile for drilling pilot holes and attaching hardware.
Types of Fencing Materials Available
There are various fencing materials to choose from when building your fence:
- Wood: Popular due to its natural beauty and versatility.
- Vinyl: Low-maintenance and can withstand harsh weather conditions.
- Metal: Provides durability and security, ideal for high-traffic areas.
- Composite: Offers the look of wood with added durability and resistance to rot and insects.
-
 Brown Treated Herts Lap Fence Panel£28.79 – £34.79
 -
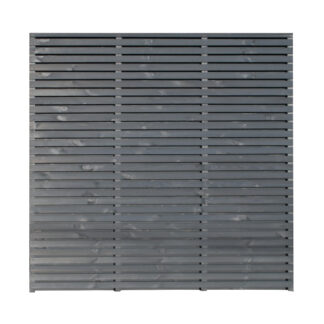 Contemporary Double Slatted Fence Panel – Grey – 1.8m x 1.8m£101.99 inc. VAT. (£84.99 ex. VAT.)
 -
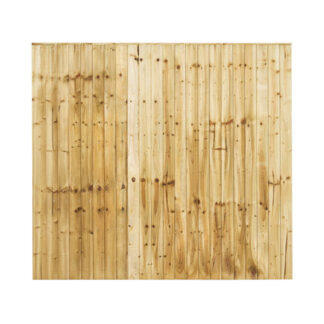 Closeboard Fence Panels – Full Frame£43.19 – £45.90
 -
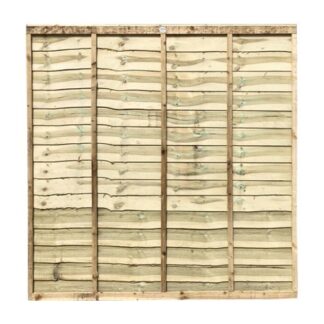 Green Treated Herts Lap Fence Panel£28.79 – £34.79
Safety Equipment and Precautions
Prioritise safety while building a fence. Consider the following safety equipment and precautions:
- Protective gloves: Protect your hands from cuts, splinters, and injuries.
- Safety goggles: Shield your eyes from flying debris, dust, and potential hazards.
- Ear protection: Prevent hearing damage when using power tools.
- Sturdy footwear: Wear closed-toe shoes or boots to protect your feet from falling objects.
- Check for underground utilities: Before digging, contact the appropriate authorities to locate underground utilities to avoid accidents.
- Follow instructions: Always read and follow the manufacturer’s instructions for any tools or equipment you use.
By having the right tools, materials, and safety precautions in place, you’ll be well-prepared to tackle your fence-building project. Remember to take your time and work carefully to achieve the best results.
-
 STIHL Durogrip Function Work Gloves£6.70
 -
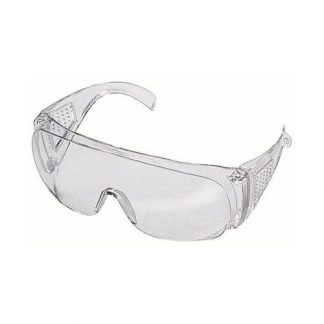 STIHL Standard Clear Safety Glasses£6.22 inc. VAT. (£5.18 ex. VAT.)
 -
 AMBLERS FS218 Waterproof Steel Toe & Midsole Safety Boots£43.27 – £58.26
 -
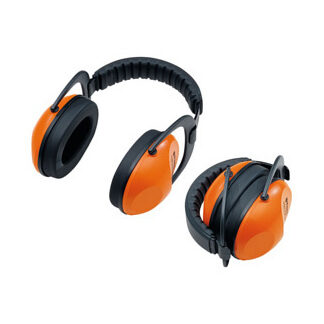 STIHL CONCEPT 24 F Ear Defenders£24.79 inc. VAT. (£20.66 ex. VAT.)
Preparing the Site
Proper site preparation is crucial before starting the fence installation process. This involves measuring and marking the fence line, clearing the area of obstacles, and ensuring the ground is level.
Begin by measuring and marking the fence line to ensure accuracy and proper alignment. Use a measuring tape to determine the desired length of your fence and mark the starting and ending points with stakes or flags. This will serve as a guide throughout the installation process.
Next, clear the area of any obstacles that may hinder the installation of your fence. Remove rocks, debris, or vegetation that could interfere with the placement of posts or panels. It’s important to have a clear and unobstructed pathway for your fence.
After clearing the area, check if the ground is level. Uneven terrain can affect the stability and appearance of your fence. Use a level tool to ensure the ground is flat and adjust accordingly. If necessary, add or remove soil to achieve a level surface.
Installing Fence Posts
Installing fence posts correctly is one of the most crucial steps in how to build a wood fence. This ensures the stability and durability of your fence for years to come. Follow these essential tips:
Digging Post Holes to the Correct Depth
Determine the appropriate depth for your fence posts. As a general rule, aim for about one-third of the post’s length to be buried underground. Use a post hole digger or an auger to dig the holes, ensuring they are wide enough to accommodate the size of the posts.
Setting Posts in Concrete for Stability
Once the post holes are dug, set the posts in concrete for additional stability. This prevents the posts from shifting over time. Mix the concrete according to the manufacturer’s instructions and pour it into the holes around the posts. Ensure the posts are plumb and level while the concrete sets.
Ensuring Posts are Level and Evenly Spaced
To achieve a professional-looking fence, ensure the posts are level and evenly spaced. Use a spirit level to check the vertical alignment of each post. Adjust the height or add/subtract soil as needed. Additionally, measure the distance between each post to ensure they are evenly spaced, providing adequate support for the fence panels.
By following these steps, you’ll be well on your way to learning how to build a fence panel and creating a sturdy and attractive fence that will enhance the aesthetics and security of your property. If you need further assistance or high-quality fencing materials, please don’t hesitate to get in touch with us at Brian T’s of Risborough. We’re always here to help!
Attaching Fence Panels
Attaching fence panels is a crucial step in how to install a fence. This ensures that your fence not only looks great but also provides the necessary security and privacy for your property. Follow these steps to attach fence panels:
Cutting Panels to the Correct Size
Before attaching the panels, measure and cut them to the appropriate size for a neat and professional-looking fence. Use a measuring tape and a saw to trim the panels to the desired length.
Securing Panels to Posts
Once the panels are cut to size, secure them to the posts. Start by positioning the first panel against the first two posts, ensuring it aligns properly. Use galvanised screws or nails to attach the panel to the posts, ensuring a sturdy connection.
Ensuring Panels are Level and Aligned
As you continue attaching more panels, ensure they are level and aligned with each other. Use a spirit level to check the horizontal alignment of the panels and adjust as necessary. This will help create a fence that looks visually appealing and is structurally sound.
By following these steps, you can successfully install fence panels and create a beautiful, functional fence for your property. If you need further assistance or advice, don’t hesitate to contact our team at Brian T’s of Risborough. We have a wide range of high-quality fence panels and accessories to help you complete your project with ease.
Finishing Touches
Paying attention to the finishing touches is essential when building a fence. These final steps enhance the appearance of your fence and contribute to its durability and longevity. Consider the following aspects:
Treating Wood to Prevent Rot and Weather Damage
Properly treating the wood is key to maintaining your fence. Wood is susceptible to rot and weather damage, especially when exposed to moisture. Apply a high-quality wood preservative or stain to protect your fence from these issues. This will not only extend the lifespan of the wood but also enhance its natural beauty.
Adding Decorative Elements to Your Fence
A fence can be both functional and aesthetically pleasing. Consider adding decorative elements such as finials, post caps, or lattice panels. These elements can add a touch of elegance and personalisation to your fence, making it stand out in your garden or yard.
Maintaining Your Fence for Longevity
Regular maintenance is crucial to ensure your fence lasts for years. Inspect your fence periodically for any signs of damage or wear. Repair or replace any broken boards, loose screws, or damaged sections. Additionally, clean your fence regularly to remove dirt, debris, and mildew. A well-maintained fence not only looks better but also increases its durability.
As well as fencing supplies, we also stock both decorative and non-decorative aggregates and building materials such as ballast and MOT type 1. All materials can be purchased instore or online and if you can’t collect, we’ll deliver to your door!

